Our Dad, Clifford Goll....thanks Matt

Monday, March 26, 2012

Gouf and Photo box


Up next for me is the Gouf Ignited HG Kit....


3 sprues of parts, and it comes with a stand(below)

 Here is the photo box I slapped together,. I made one last week, and gave it to Fennie, this one is almost identical except that I used a different tape...and cut less out of the box....


 This build can be found at Gamera Baenre's Mindless Ramblings , his blog, under tutorials

This is one of Fennie's Orcs that I used as a test subject in the photo box...the camera I used did not have the highest pixel range...but I think it turned out ok....

Saturday, March 17, 2012

Sinanju SD Update

upper torso

 Finally ...I had to redo the upper torso, it came out OK
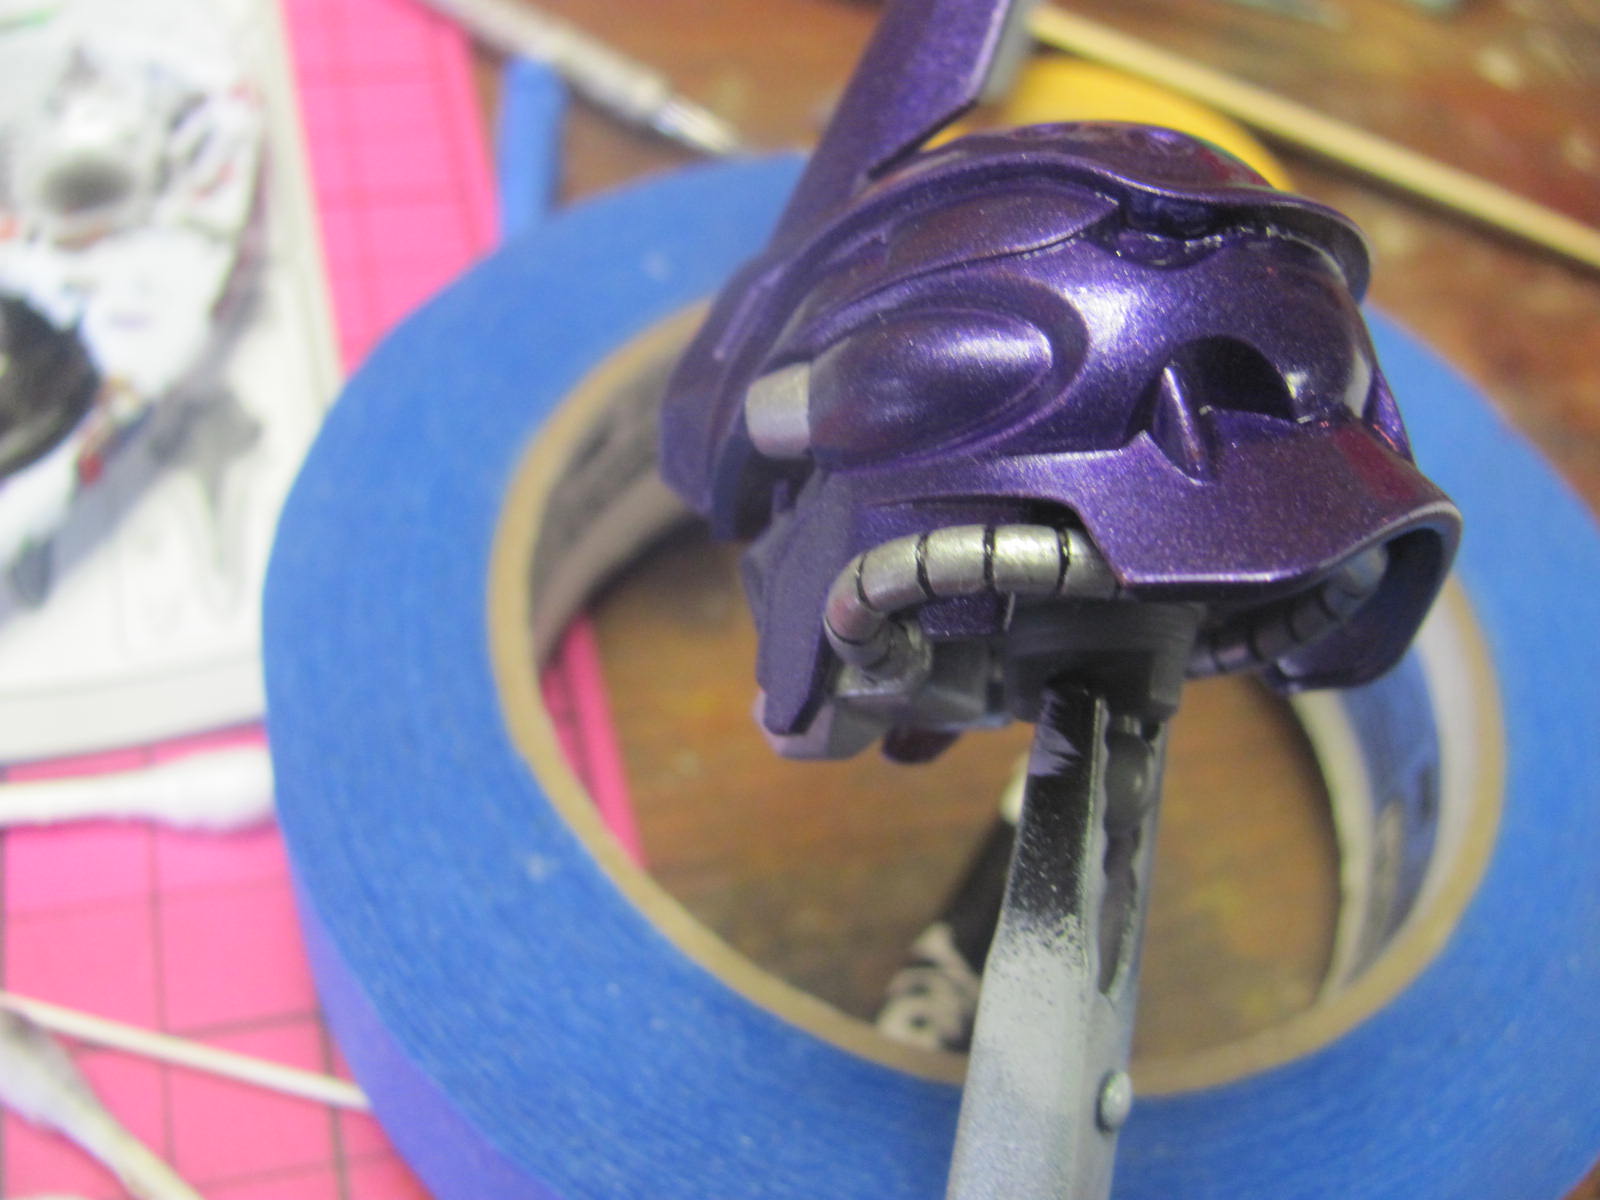
Added the head...and this Sinanju was starting to take shape
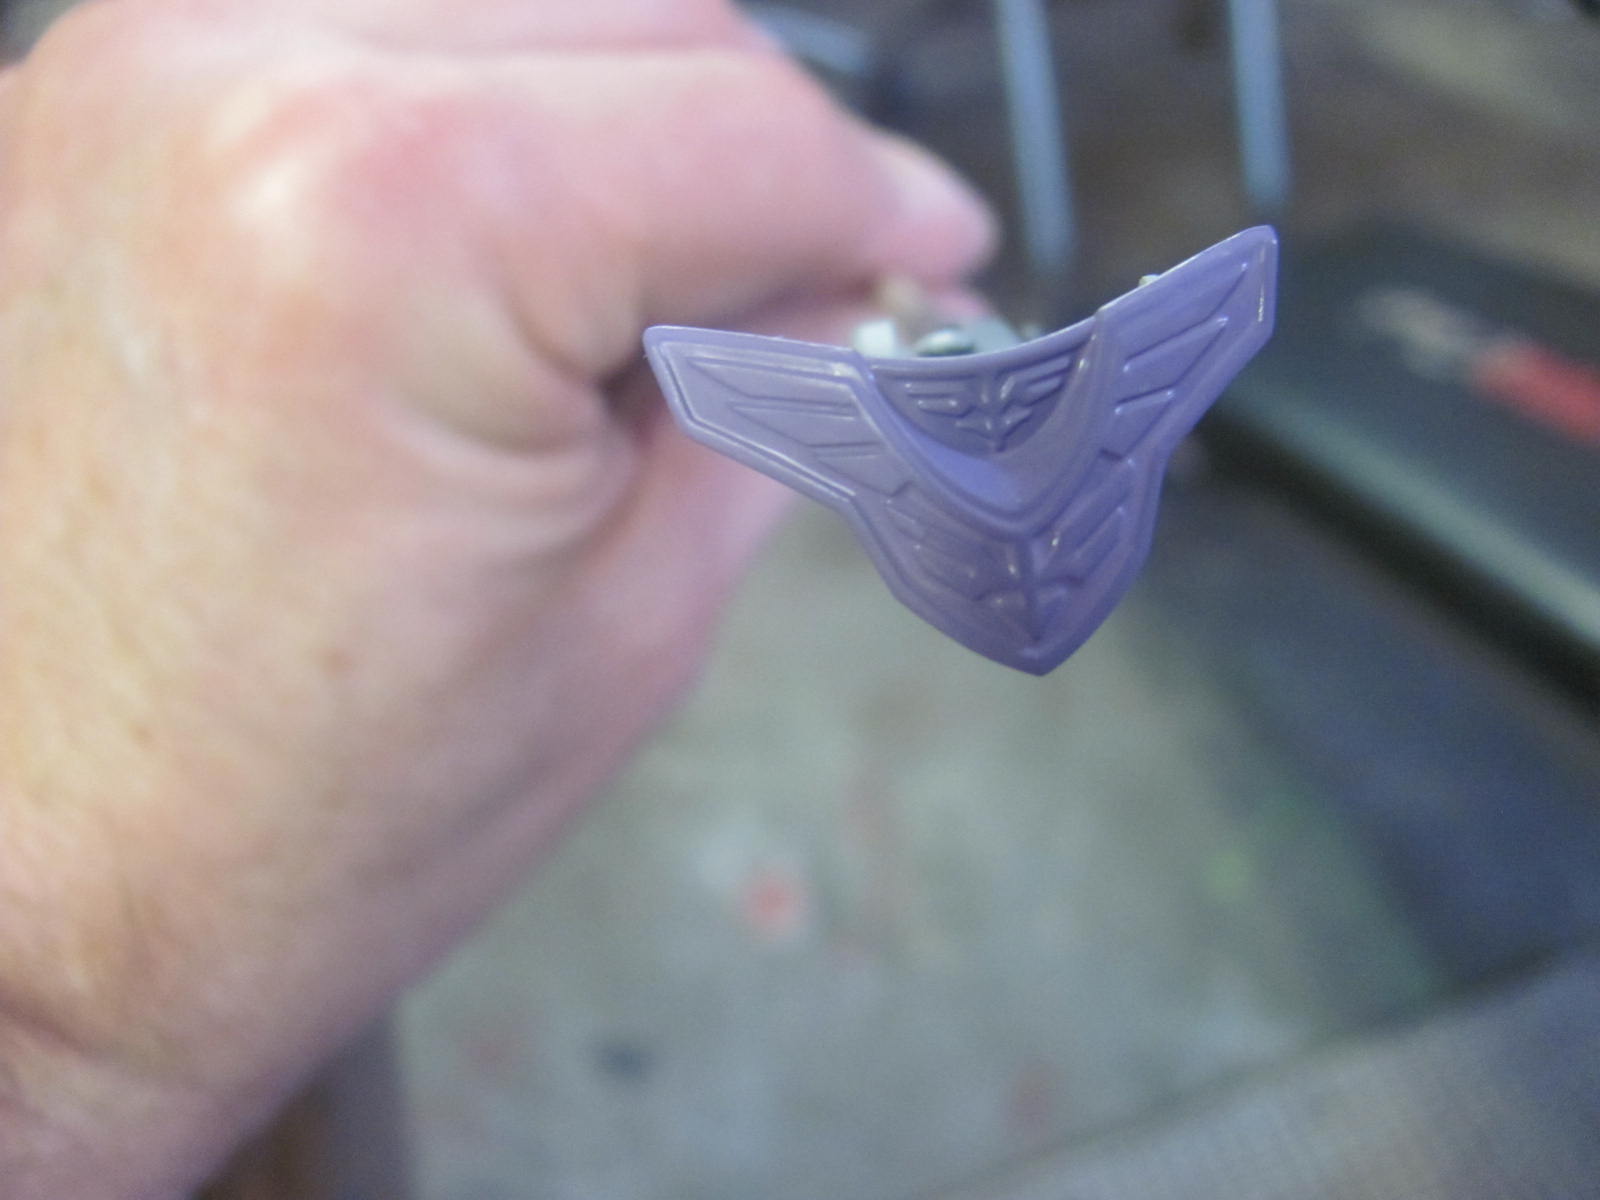
 The shield was a process...taping, painting , reverse wash,,,it came out fairly good for a first effort


finish product
 It was just about a four or maybe five step effort

 Thrusters up next...painted all metallic gray, hand painted purple...taped, painted dark purple
Final result...not to bad....
top of lower torso

after lighter fluid
 painted lower torso top, then hit with black for reverse wash...

Started fuel tanks, ..hand painted in spots, hit with black, used lighter fluid to remove some black, added panel wash to remaining tank seam line
 Arms to left,hand painted details, to right before removing black to reveal highlighted area

Lower torso

assembly of thrusters and fuel tanks on to upper torso

some details ad

 Finally put together
 I learned a lot from this kit...I missed a few welds here and there, and my paint of choice was not the best fit for this kit...I also learned on reverse wash, the cheaper the q-tip for removing the paint with lighter fluid the better...I tried some things on this Sinanju that I have never done before...I had never decanted aerosol paint to brush with, and it worked for the most part...Since this is not a tutorial, I did not show it, but several of the blogs T-13 follows do have tuts on this process....

I hope to build my skills over the next few kits,so I can actually show my process in a way that might be helpful to a VERY NEW kit builder...I am not as skilled as the Gunpla Masters floating around out there...but I can say, you can do a lot of their techniques...and they do get easier with practice....If you are not enjoying your kit building then the passion of the Hobby is lost and it becomes something else...something ugly....SO embrace your kit, make mistakes, learn...enjoy, grow...and challenge yourself...I look back at my first kit since the rebirth of T-13...and I have leaped in ability, and the passion has grown,and the FUN...is more now than ever before....Eagerly looking forward to my next build....

Details to come.....

ready to Battle

Saturday, March 10, 2012

Sinanju Thruster Mod

Tools for the Mod
Comparison of Thrusters


Topic of  this post is "Thruster Mod" for the MG Titanium Sinanju.  Trust me, there are not many tutorials available to guide one through  this process so I hope this will be of some help for beginners like me everywhere.
On the left you see the comparison between the factory thrusters and the upgraded thrusters.  On the right are the tools involved for the process of the modification.  Pin vice, nippers, and sanding pad.  I used the sharpie to mark where I was going to drill the hole as sort of a guide to keep it centered and somewhat in the middle.  *sighs* lol.

Thruster piece ready for nub removal
Nubs removed lightly sanded.


Nubs removed and light sand to ensure a nice flat surface to drill the holes for the pins to which the thrusters will attach.  Always a bit nerve racking when you start removing pieces of a "not-so-cheap"  mecha masterpiece!

Holes Drilled
Now large drill to accommodate the pin size
I "eyeballed" the bit size for drilling the holes, started smaller to get the initial hole  than used a slightly smaller bit than the pin size of the thruster so it it would seat nice and snug!


Pins now ready for thrusters.

Now that was probably the most difficult part of the process.  You need to check the instructions to see how the thruster assembles to the body armor, this way you can see how much room is need to allow for proper installation of the whole unit.
Assembled Thrusters Yeah!
Chrome (left) and Gun Metal (right)
The thrusters now fitted, I have two different colors -  Chrome and Gun Metal.  Unfortunately I am not quite equipped to produce quality photos at the moment, you will just have to take my word for it!  lol


The project is basically finished.  I have to prime the thruster units and decide on a color to paint them.  This is the fun part of the build and the tough work is done and you can start comparing paint schemes with the model.  Here are some pics of the thruster mod in what will be ultimately the finally assembly!
Admiring my work! lolz
Top view'

Closer view
Rear view
Another view


So, there you have it.  I used  G-Option Thrusters and there are a ton of options at your disposal.  These options vary from what part of the planet you are located!  I am not sure if there is a difference between "Thrusters" and "Verniers" but G-option was affordable and very reasonable for shipping from Hong Kong.  GG Infinite (US) is offering several varieties as well, little more expensive, but the free shipping and being based in California is a great option.  I have several more thruster builds to do, so stay tuned for more updates Gunpla Brothers and Sisters!

Wednesday, March 7, 2012

Sinanju SD progress, problems..and learn as you go

 Started work on head and upper torso....the head I wanted to "NOT" have a seam line, so I needed to build and paint eye unit and jaw plate..and insert in head before making the seam weld...since I do not have an airbrush yet, I had to resort to the old paint,tape and pray method.

head unit
pre-tape area of weld


had a few bubble issues..sanded a bit more
painted and a light sand


pre-painted  jaw plate
head unit with jaw plate and weld completed


painted head...I had a few bubbles again 
finished head before panel wash 


I ran into a problem with the Testors one coat lacquer..since I had never used it...I sprayed like I normally do...but with this paint, you need to just mist a few coats..and let them sit for a bit between...then do a final overall coat..Good to know(hindsight)
Finished head w/panel wash

You can see the bubbles in that groove in the helmet...I am sure a airbrush would make painting a bit more controllable....probably a LOT more....


On to the upper body torso...5 parts and pretty straight forward...I was on the fence about a wielding down the side..I tried, it was bad...I would not do that weld again if I could do it over


 this is the breast plate unit...it is the Standout piece on the upper torso..I attempted to do a reverse wash...primed, hand painted my hi-light color, gloss coated...then black enamel paint, then q-tips and lighter fluid to remove the black from the painted hi-light areas


I had a few issues with the q-tips...but it came out passable...Major Williams said in his blog...you would have to work on this skill. it is harder than it looks, and my success with my Zulu, made me cocky..LOL


gloss black

hand painted hi-lights
 Here is the main part of the torso...it has a bunch of stuff I wanted to reverse wash...tiny...stuff

messy looking, and not passable
 process started good...then...things took a turn...I got q-tip fuzz everywhere, my gloved hands started to get tacky from the lighter fluid

so I stripped it back down...gave it a soapy bath, rinsed it, and it is drying....

Then called it a day....Frustration at the modeling table is not a positive, best just push away from the table...and start again later